Step-by-Step Basic Tutorial for Creating an Asset Bundle: Laughing Panda
Step-by-Step Basic Tutorial for Creating an Asset Bundle: Laughing Panda
We are excited that you’re getting ready to dive in and create Asset Bundles. You can upload and distribute the Asset Bundles in One Game Asset Store in the future and make real money. If you are a gamer who wants to create assets, is involved in the modding community, or is a third party asset creator, you may find this tutorial useful.
Step 1: Download Unity here and open Unity.
Step 2: Download the Panda files from this git repository here.
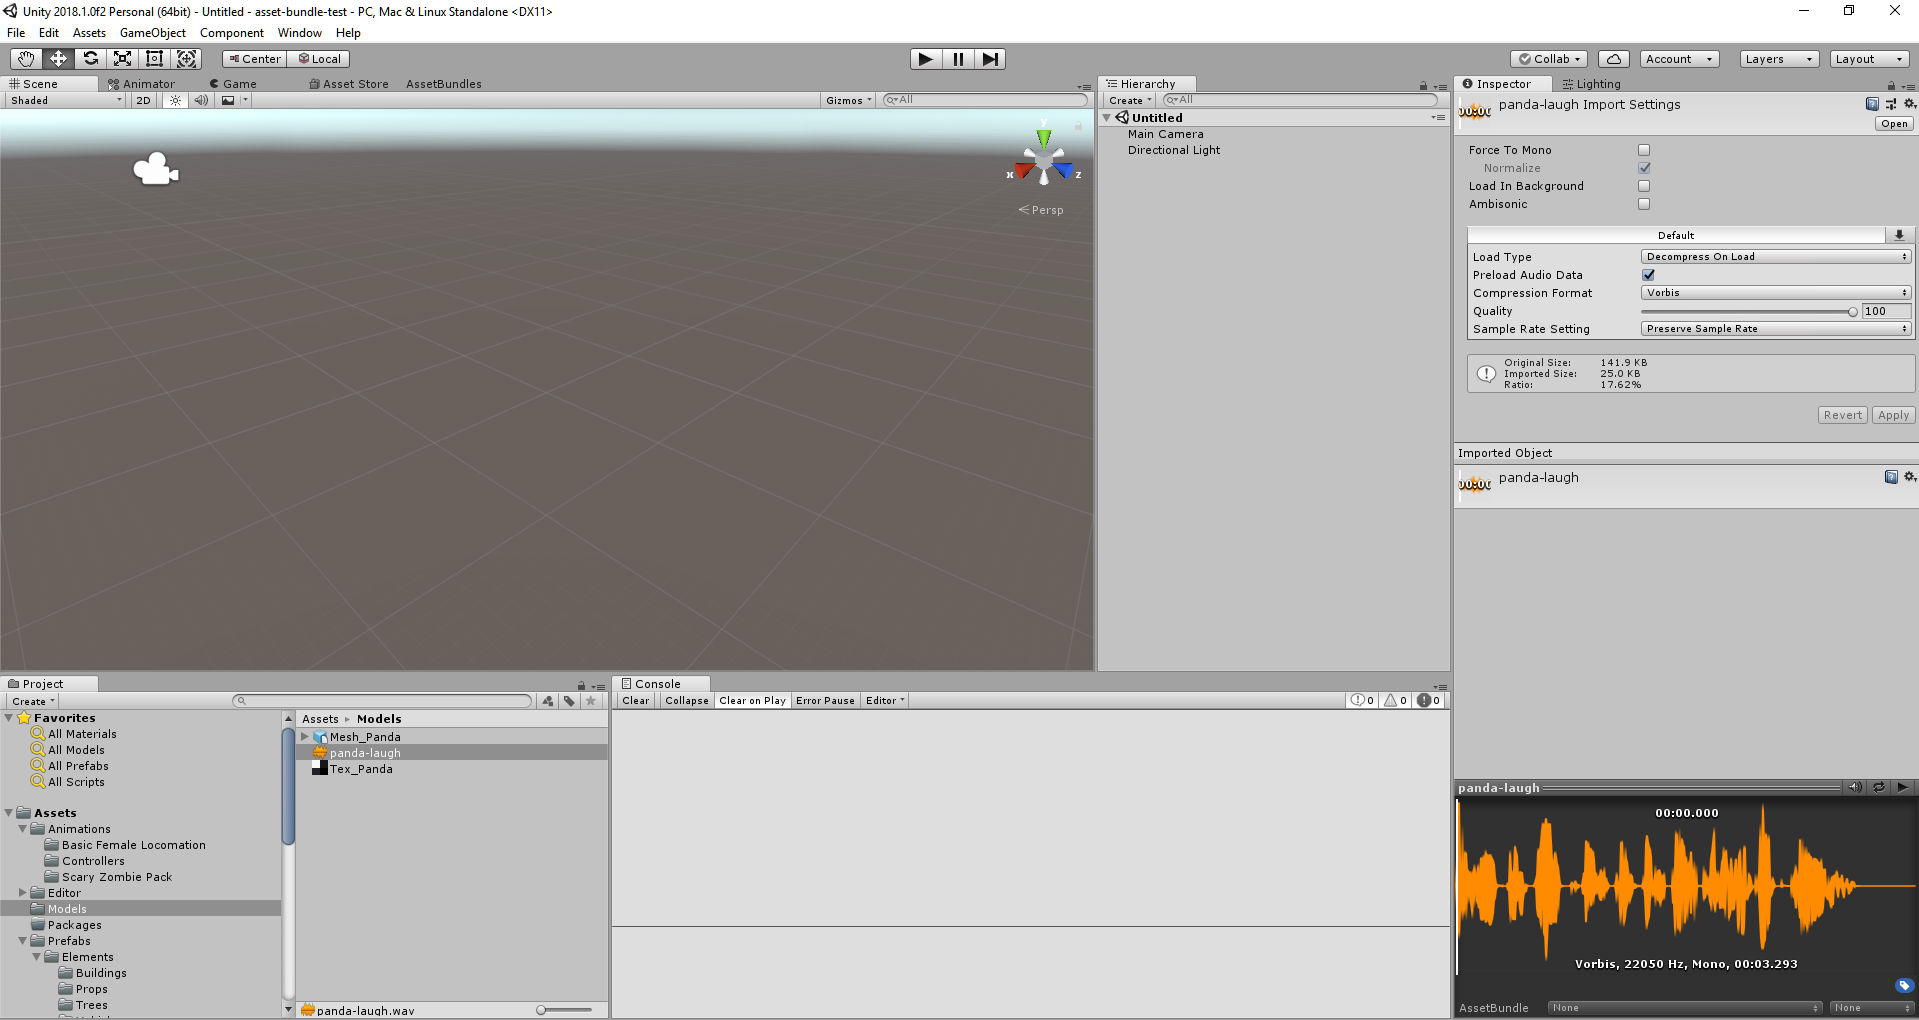
Step 3: Import the Panda files into Unity by dragging the three files below into the Unity Project window, under Assets > Models.
Mesh_Panda.obj(the object)Tex_Panda.png(the texture)panda-laugh.wav(the sound clip)
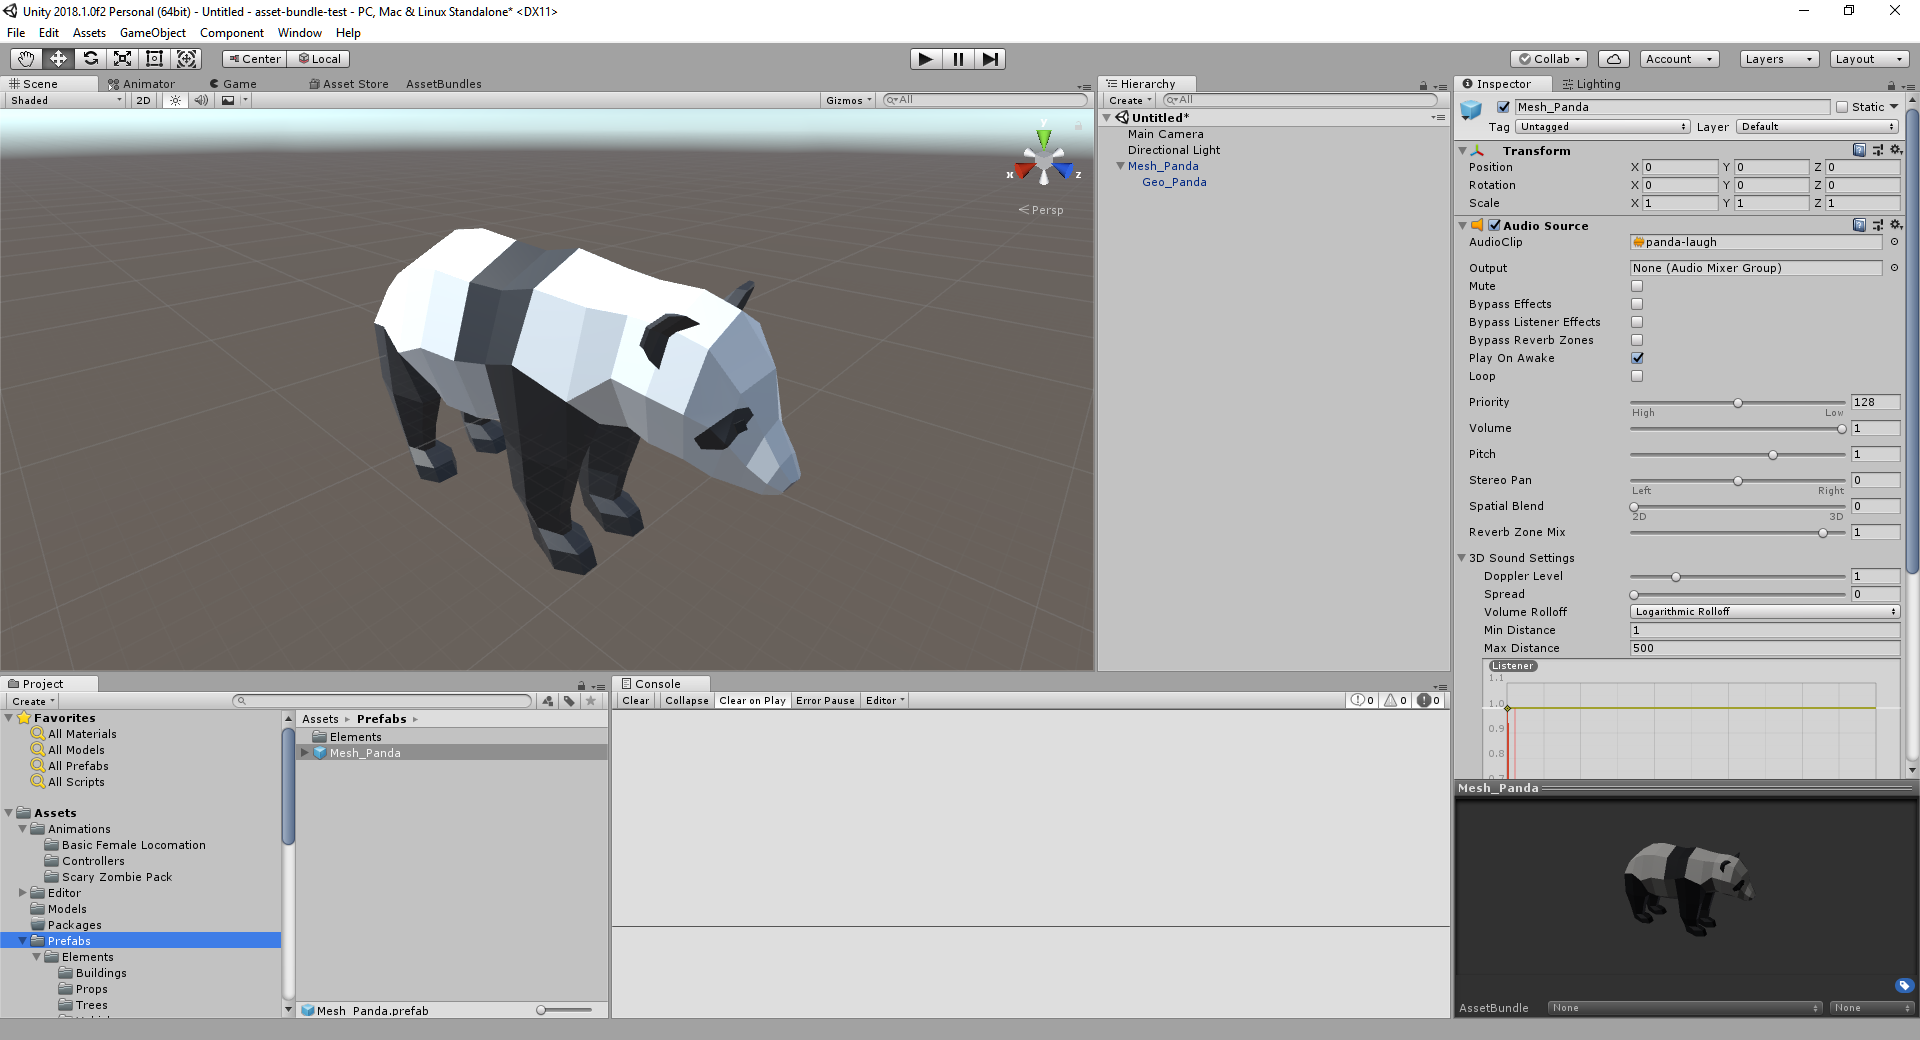
Step 4: Drag Mesh_Panda into the Hierarchy window and confirm that the Panda model is visibly being displayed in the Scene window as shown below.
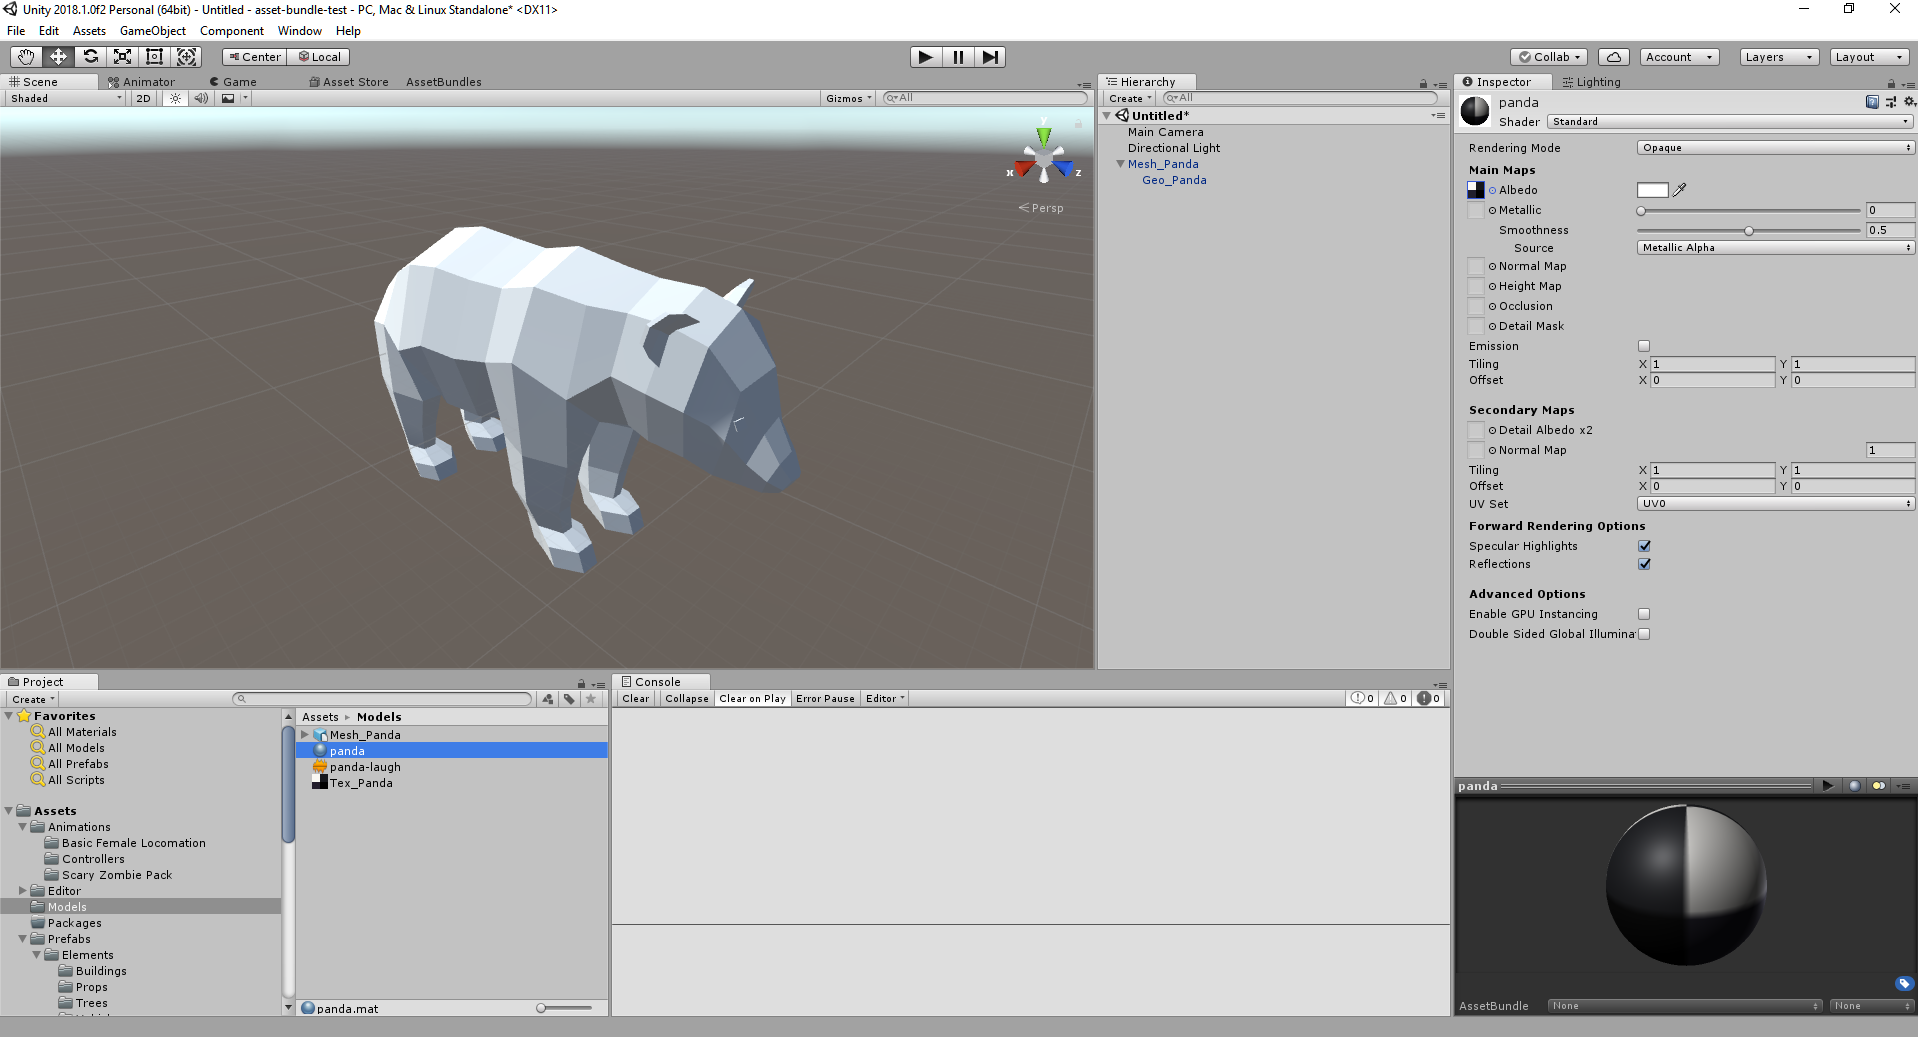
Step 5: Let’s add some life to the panda by adding a texture. Right click the project -> Create Material. Name the Material Panda. On this material, drag the Tex_Panda texture into the albedo field, to attach the texture onto the Material. In the right panel Inspector, you can see that the the texture is now applied on the Material.
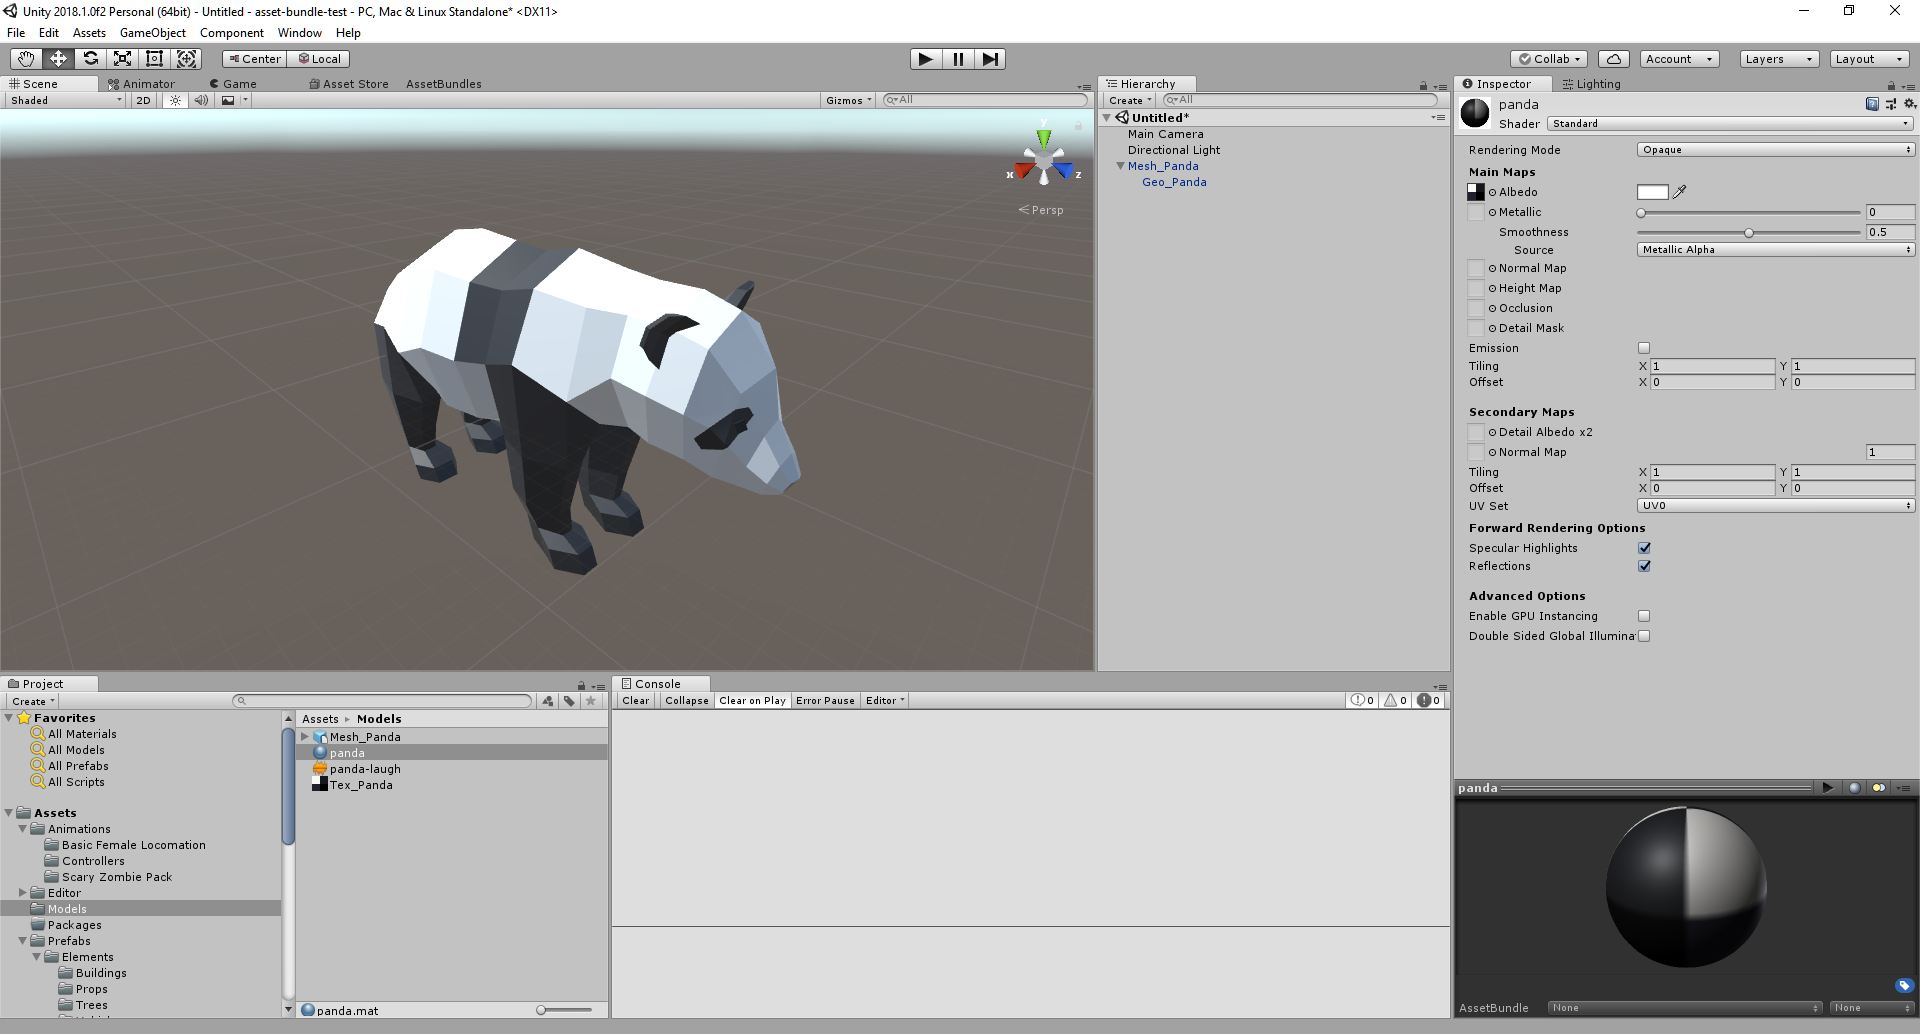
Step 6: Drag the Material on the the Panda Mesh object in the Scene. With the material applied, this panda is looking closer to a real panda!
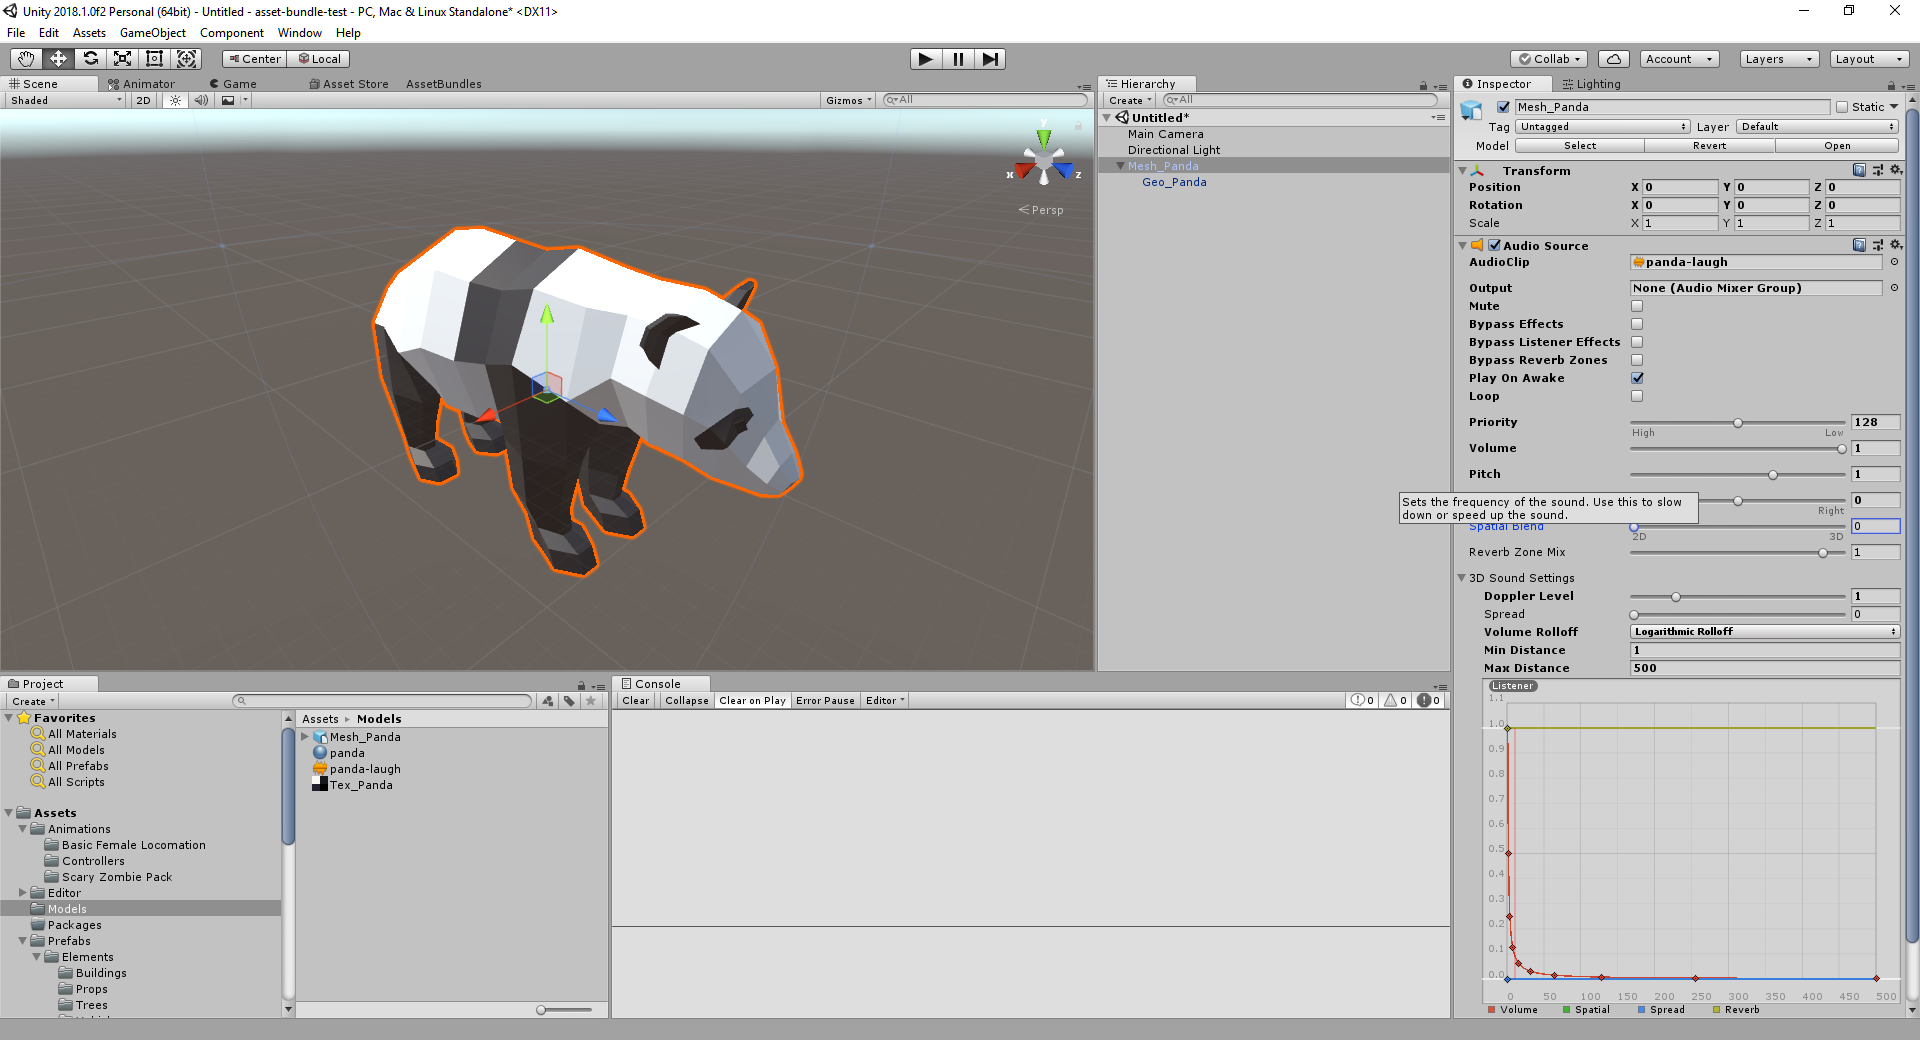
Step 7: Attach the sound file, panda-laugh.wav, to the Mesh Panda. Add the sound file to the Panda as an Audio Source. In the right panel Inspector, you can see that the Mesh Panda model now has an Audio Source.
Step 8: Now let’s create a Prefab for the Mesh Panda. The prefab asset allows you to store an asset with all its properties inside the prefab. Simply, drag Mesh_Panda into the Prefabs folder and Unity will create Prefabs automatically.
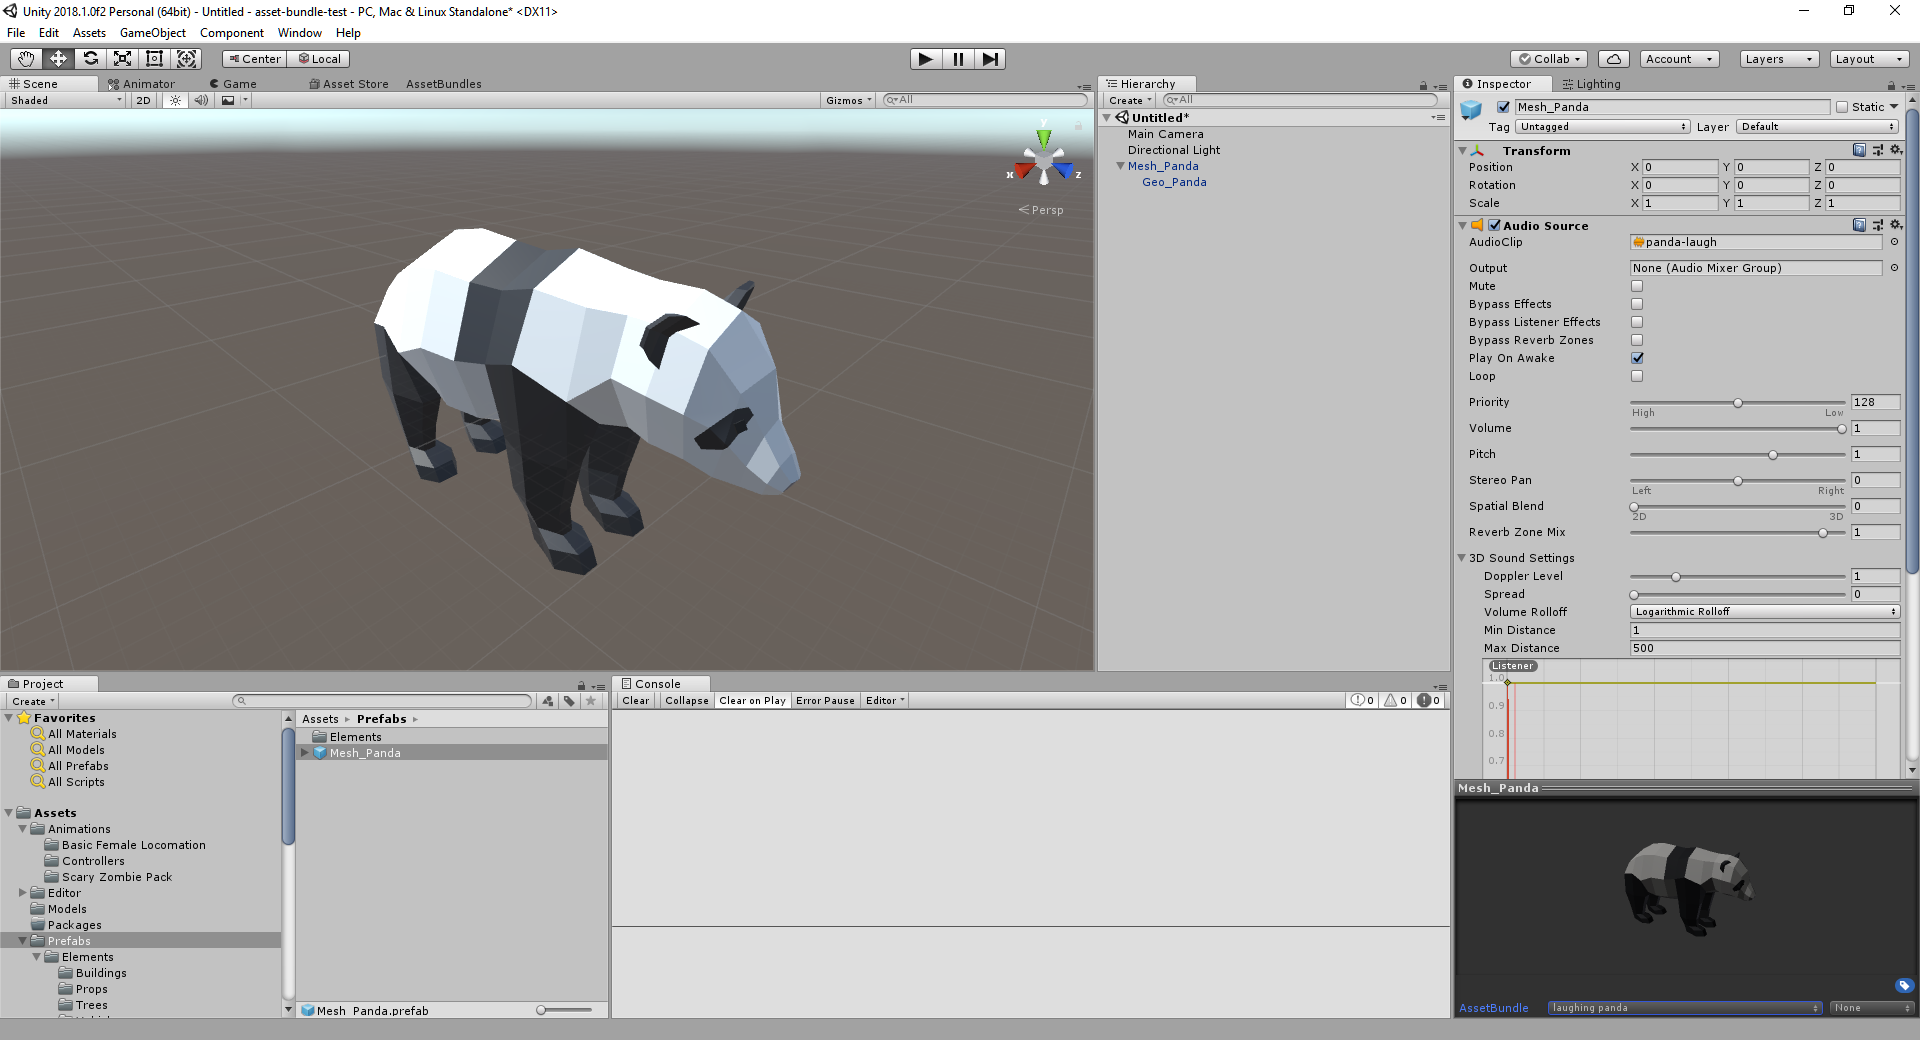
Step 9: Now let’s create the Asset Bundle. Let’s make the Asset Bundle to laughing panda. See in the lower right corner, and add title laughing panda` as the title to the Asset Bundle.
Step 10: We click on laughing panda, we have the Mesh Panda and has all dependencies in it. A manifest file is automatically generated and it should be the same as below. Opening in the manifest file in a text editor should show the following json.
{
    "id" : 5,
    "name" : "Laughing Panda",
    "path" : "/bundles/experimental/laughing panda",
    "assets" : [
        {
            "id" : 21,
            "name" : "Laughing Panda",
            "prefab" : "Mesh_Panda",
            "type" : 3,
            "thumbnail-path" : "/images/panda.png"
        }
    ]
}
Step 12: In the Asset Bundles tab, click on Build tab on the top and define the Output Path for laughing panda. You can leave Advanced Settings as default.
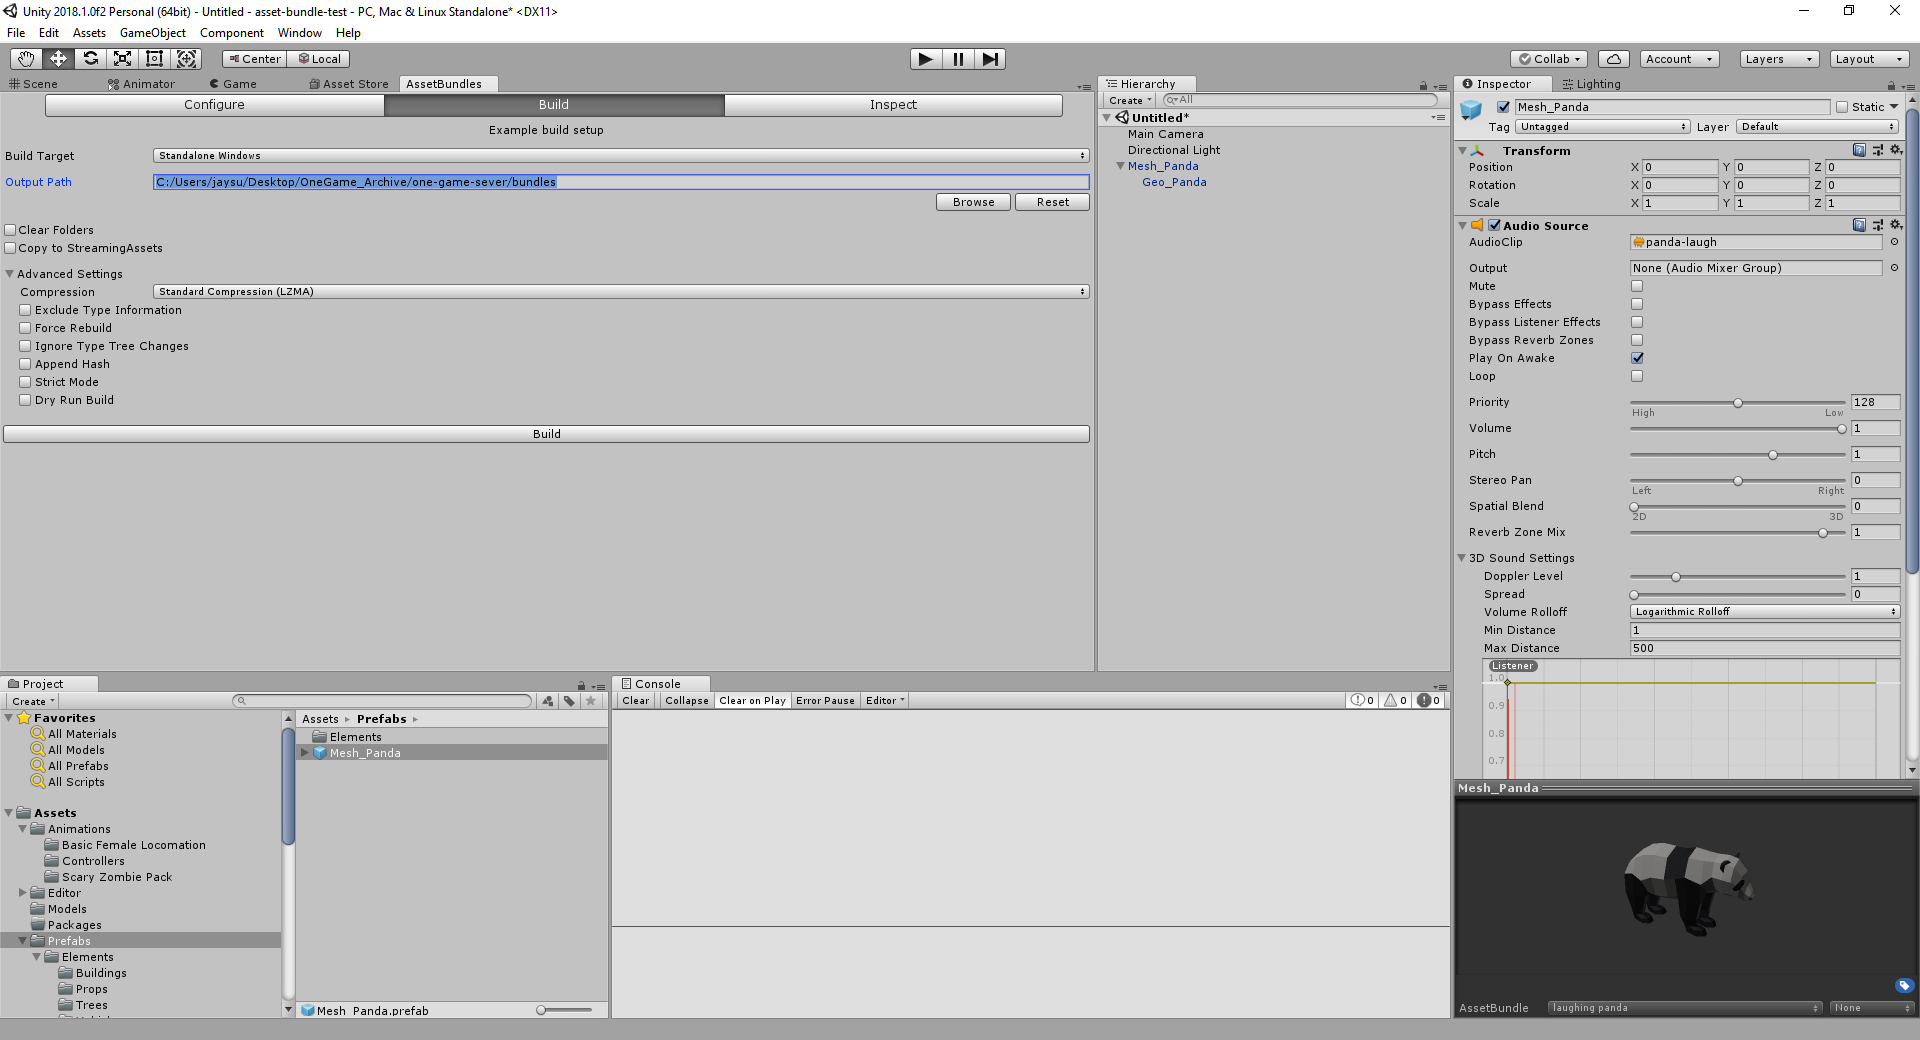
Step 13: When you’ve defined the Output Path and ready to Build, click on the horizontal flat Build button, and Unity will build the laughing panda Asset Bundle.
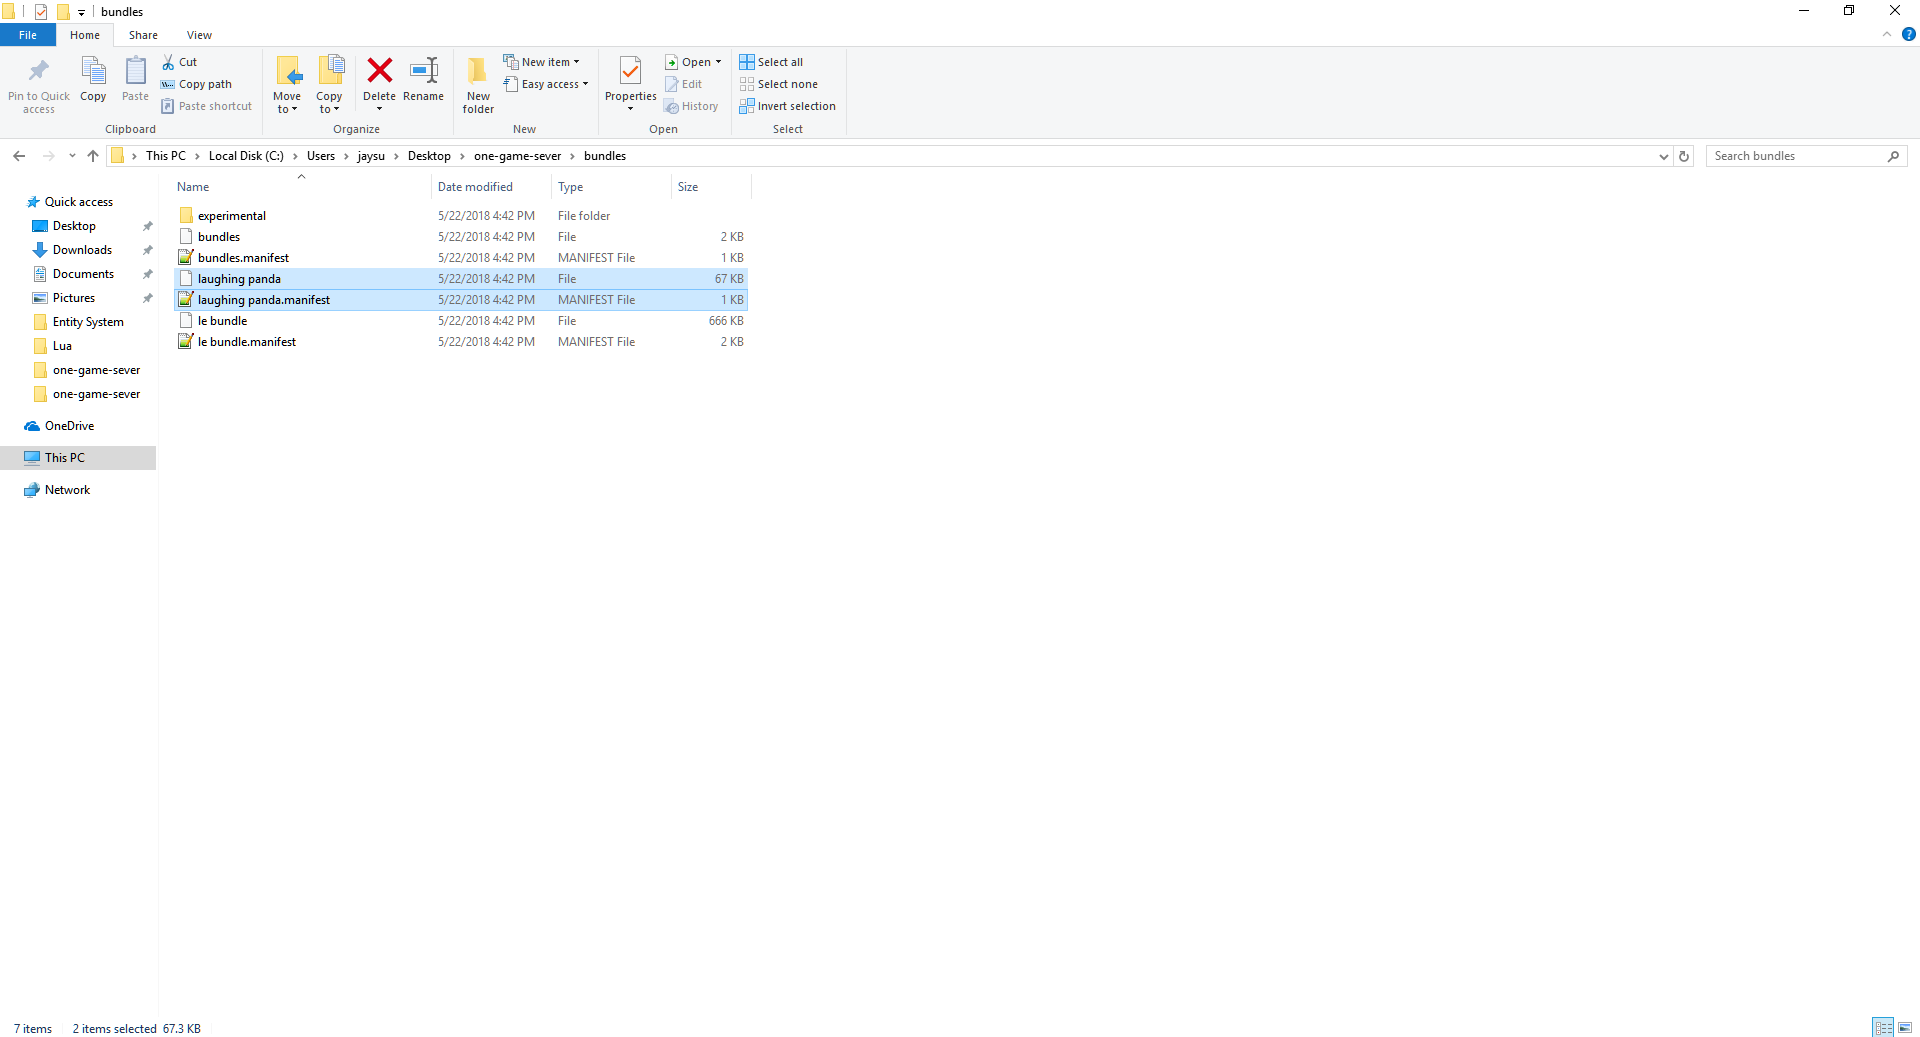
Step 14: Find the exported laughing panda at the Output Path. We are done creating an asset bundle called laughing panda. Congratulations!
Step 16: In One Game client storage, you can put in the laughing panda build here. Open One Game and push to asset server. In the future, you will be able to sell and to distribute your Asset Bundles in our Asset Store in the future where you can make money. Your imagination is the limit.
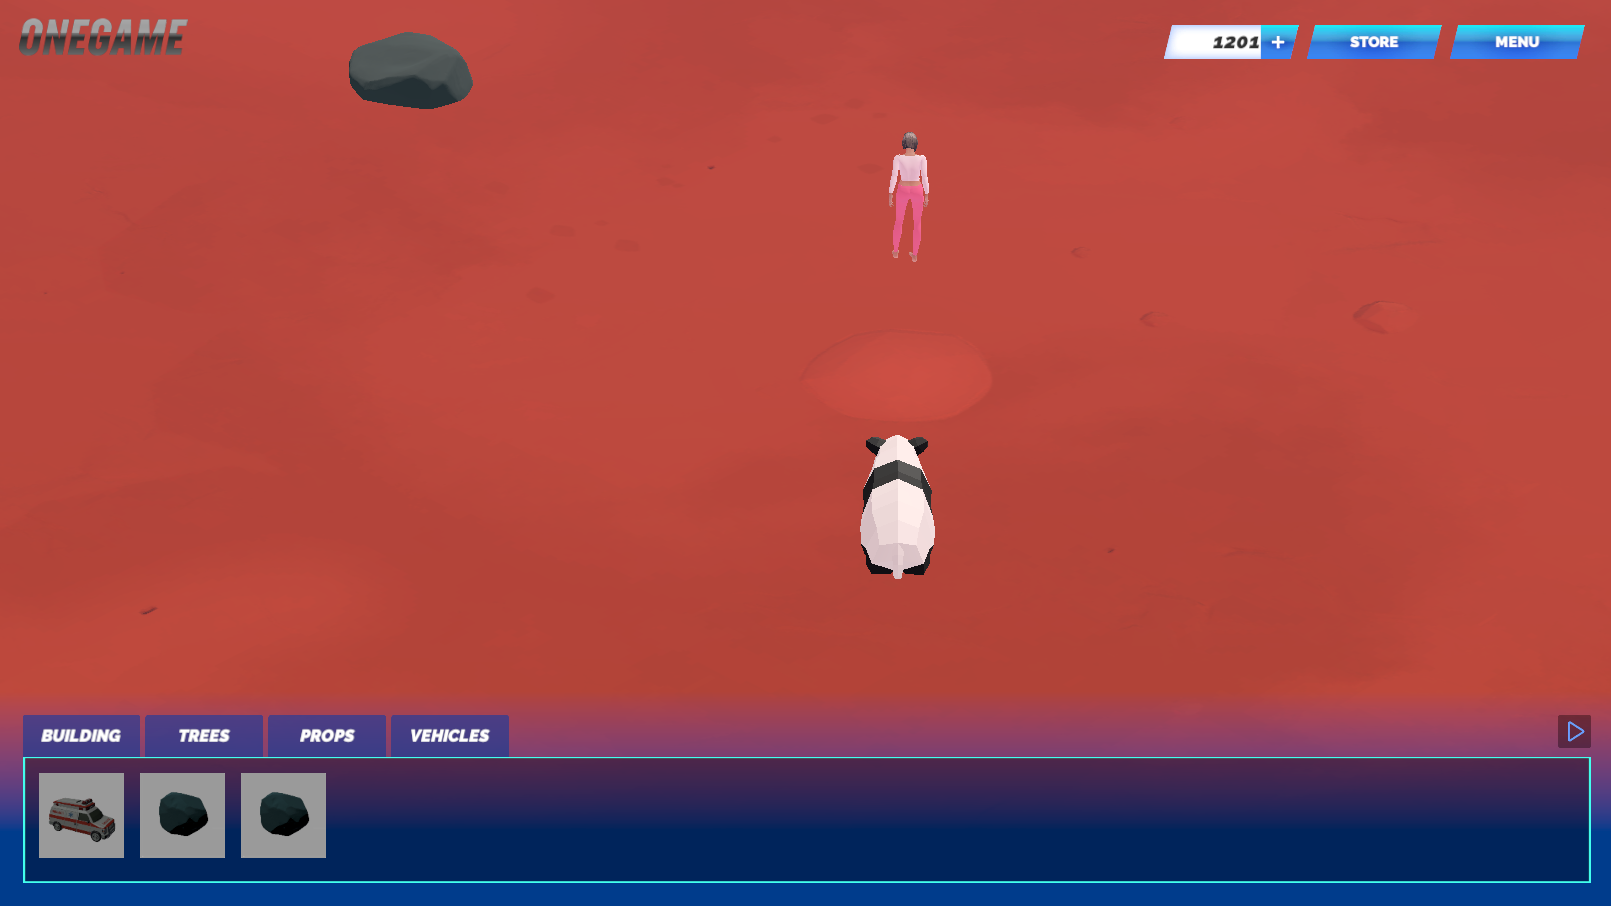
Step 17: You can also use the Asset Bundle, laughing panda locally in One Game. Below, we now see the panda in a scene in One Game.
If you have any questions, connect with our developers on social channels. We will be offering more tutorials for you. Stay tuned.